Wooden Crating: How to Inspect Rack Crates
15 June 2017
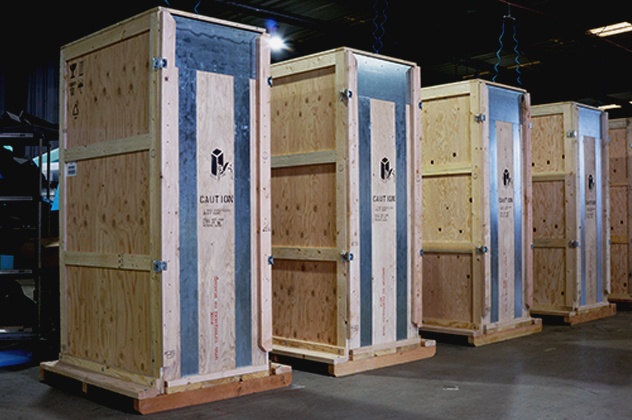
A well-made rack crate should open and unload easily, the loaded rack should slide smoothly up or down the ramp and fit snugly against the foam and blocking inside the crate. Unfortunately, when receiving empty crates, you will have to do your best with a visual inspection and a tape measure. Get a copy of the design and critical dimensions to confirm that the construction matches the specification.
Check for Quality and Craftsmanship
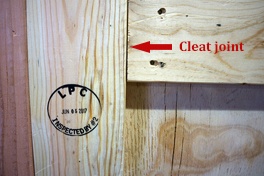
Make a visual inspection of the crate starting with the base, three panels, ramp (if there is one), and a top. Check that the rack crate looks straight and level, and try rocking it back and forth to feel the rigidity of the crate and see if the base sits firmly on the floor and the crate is stable. A rack crate designed for a payload of ~2,500 lbs might weigh as much as 350-400 lbs. The base of the crate must hold the weight of the rack. Stand on it, and see if it flexes underneath your weight, you should not be able to tip it over. Inspect the plywood for the amount of knots and splits. Note that production wood might have additional stamps or markings when it comes in bulk. This does not affect the performance or quality of the crate and is consistent with CDX plywood the most common grade of plywood used in industrial crating. Small splits in the top layer of wood will also not affect performance. Look at the craftsmanship. Cleat joints should be tight; the gap between two wood boards should not exceed 1/8 inch. Identify the cleats and confirm that the spacing between cleats is consistent with the design. Check for shiners (nails sticking out the edge of the crate), and the placement of fasteners.
Measure the Critical Dimensions

Check the critical dimensions with a tape measure and match it up with the design. The critical dimensions should be clearly identified in the design because customer satisfaction is often dependent on them. Other critical dimensions include blocking, bracing, and offsets for wheels or casters that will sit in the well of the crate. Anything over a ¼ inch difference in the actual measurement of the well, or 1/16th of an inch difference between two holes for a machined part would be cause for concern. Also identify the location of the interior foam on the design and check for the placement on the crate.
Pay Extra Attention to the Ramp and the Base
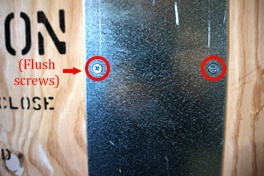
The ramp is a sensitive part of the delivery path and should be as smooth as possible because the rack will be moving at an angle and less stable than on a flat surface. The screws on the ramp guides should be flush with the ramp so that casters or feet on the rack will not bang into the screw heads.
Confirm All Markings Are Correct
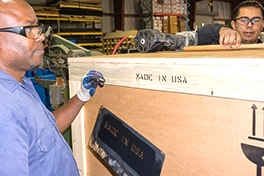
Each crate has a variety of stencils that are important for safety, regulations, identifying the contents and proper handling of the crate. The design should clearly list all the appropriate markings for the crate and the proper placement of those markings. Markings should be compared on different crates for similar placement.